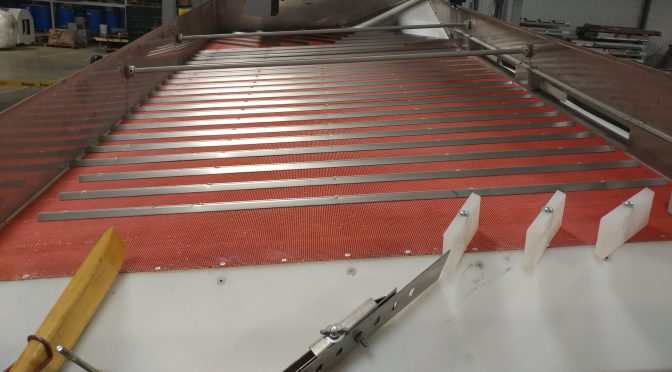
If you’re in the market for a new gravity separator, here are the top 10 things to consider when buying from a gravity separator manufacturer. It doesn’t matter if this is your first gravity or your tenth, this list provides some critical considerations to ensure your new Oliver separates itself from the competition with an issue-free deployment.
-
- Installation location
-
- Do you have a right- or left-hand machine?
- Is there ample space around the machine to operate and maintain your equipment?
-
- Installation infrastructure
-
- What are your buildings’ electrical requirements?
- Are they sufficient to support the full load of amps required by your new gravity separator?
- How long would it take to upgrade your electrical infrastructure to support your new machine?
-
- Installation timeline
-
- When do you need your new separator online?
- Is there an agreed-upon deployment timeline between your supplier and local crews?
- What are the consequences of a missed deployment date?
- Have you built in sufficient “buffer” time to account for unexpected delays?
-
- Dust extraction/collection
-
- What are the cleanliness and safety standards for your location?
- Do you know the CFM (cubic feet per minute) requirement based on your specific application?
-
- Product application
-
- Size, density (ensure machine is set up properly, lighter product is run on a B machine and heavy on a machine) more than one application/product, may need a different deck.
-
- Capacity goal
-
- Do you have the right equipment to hit your processing targets?
-
- Equipment sequence
-
- Which machines are placed up- and down-stream of your separator?
- Do the capacities of your other machines align with those of your separator (you are only as fast as your slowest machine!)
-
- Operators
-
- Do you know who will be operating your new gravity separator manufacturer?
- Are they trained on the equipment?
- Do they know how to use separators with manual and/or automatic capabilities?
-
- Maintenance plan
-
- Is your maintenance staff located on- or off-site?
- Does your support team have the training to effectively service your equipment?
- Do you have a necessary inventor of replacement parts on-hand?
-
- Connectivity requirements
-
- Do you need to connect your equipment to a plant SCADA system?
- Do you require an Internet connection for remote support or to “speak” to other machines?
-
Now that you know what to consider when buying a new gravity separator, contact your Oliver Manufacturing representative and ask them to help you find the right solution for you, today!
- Installation location


